

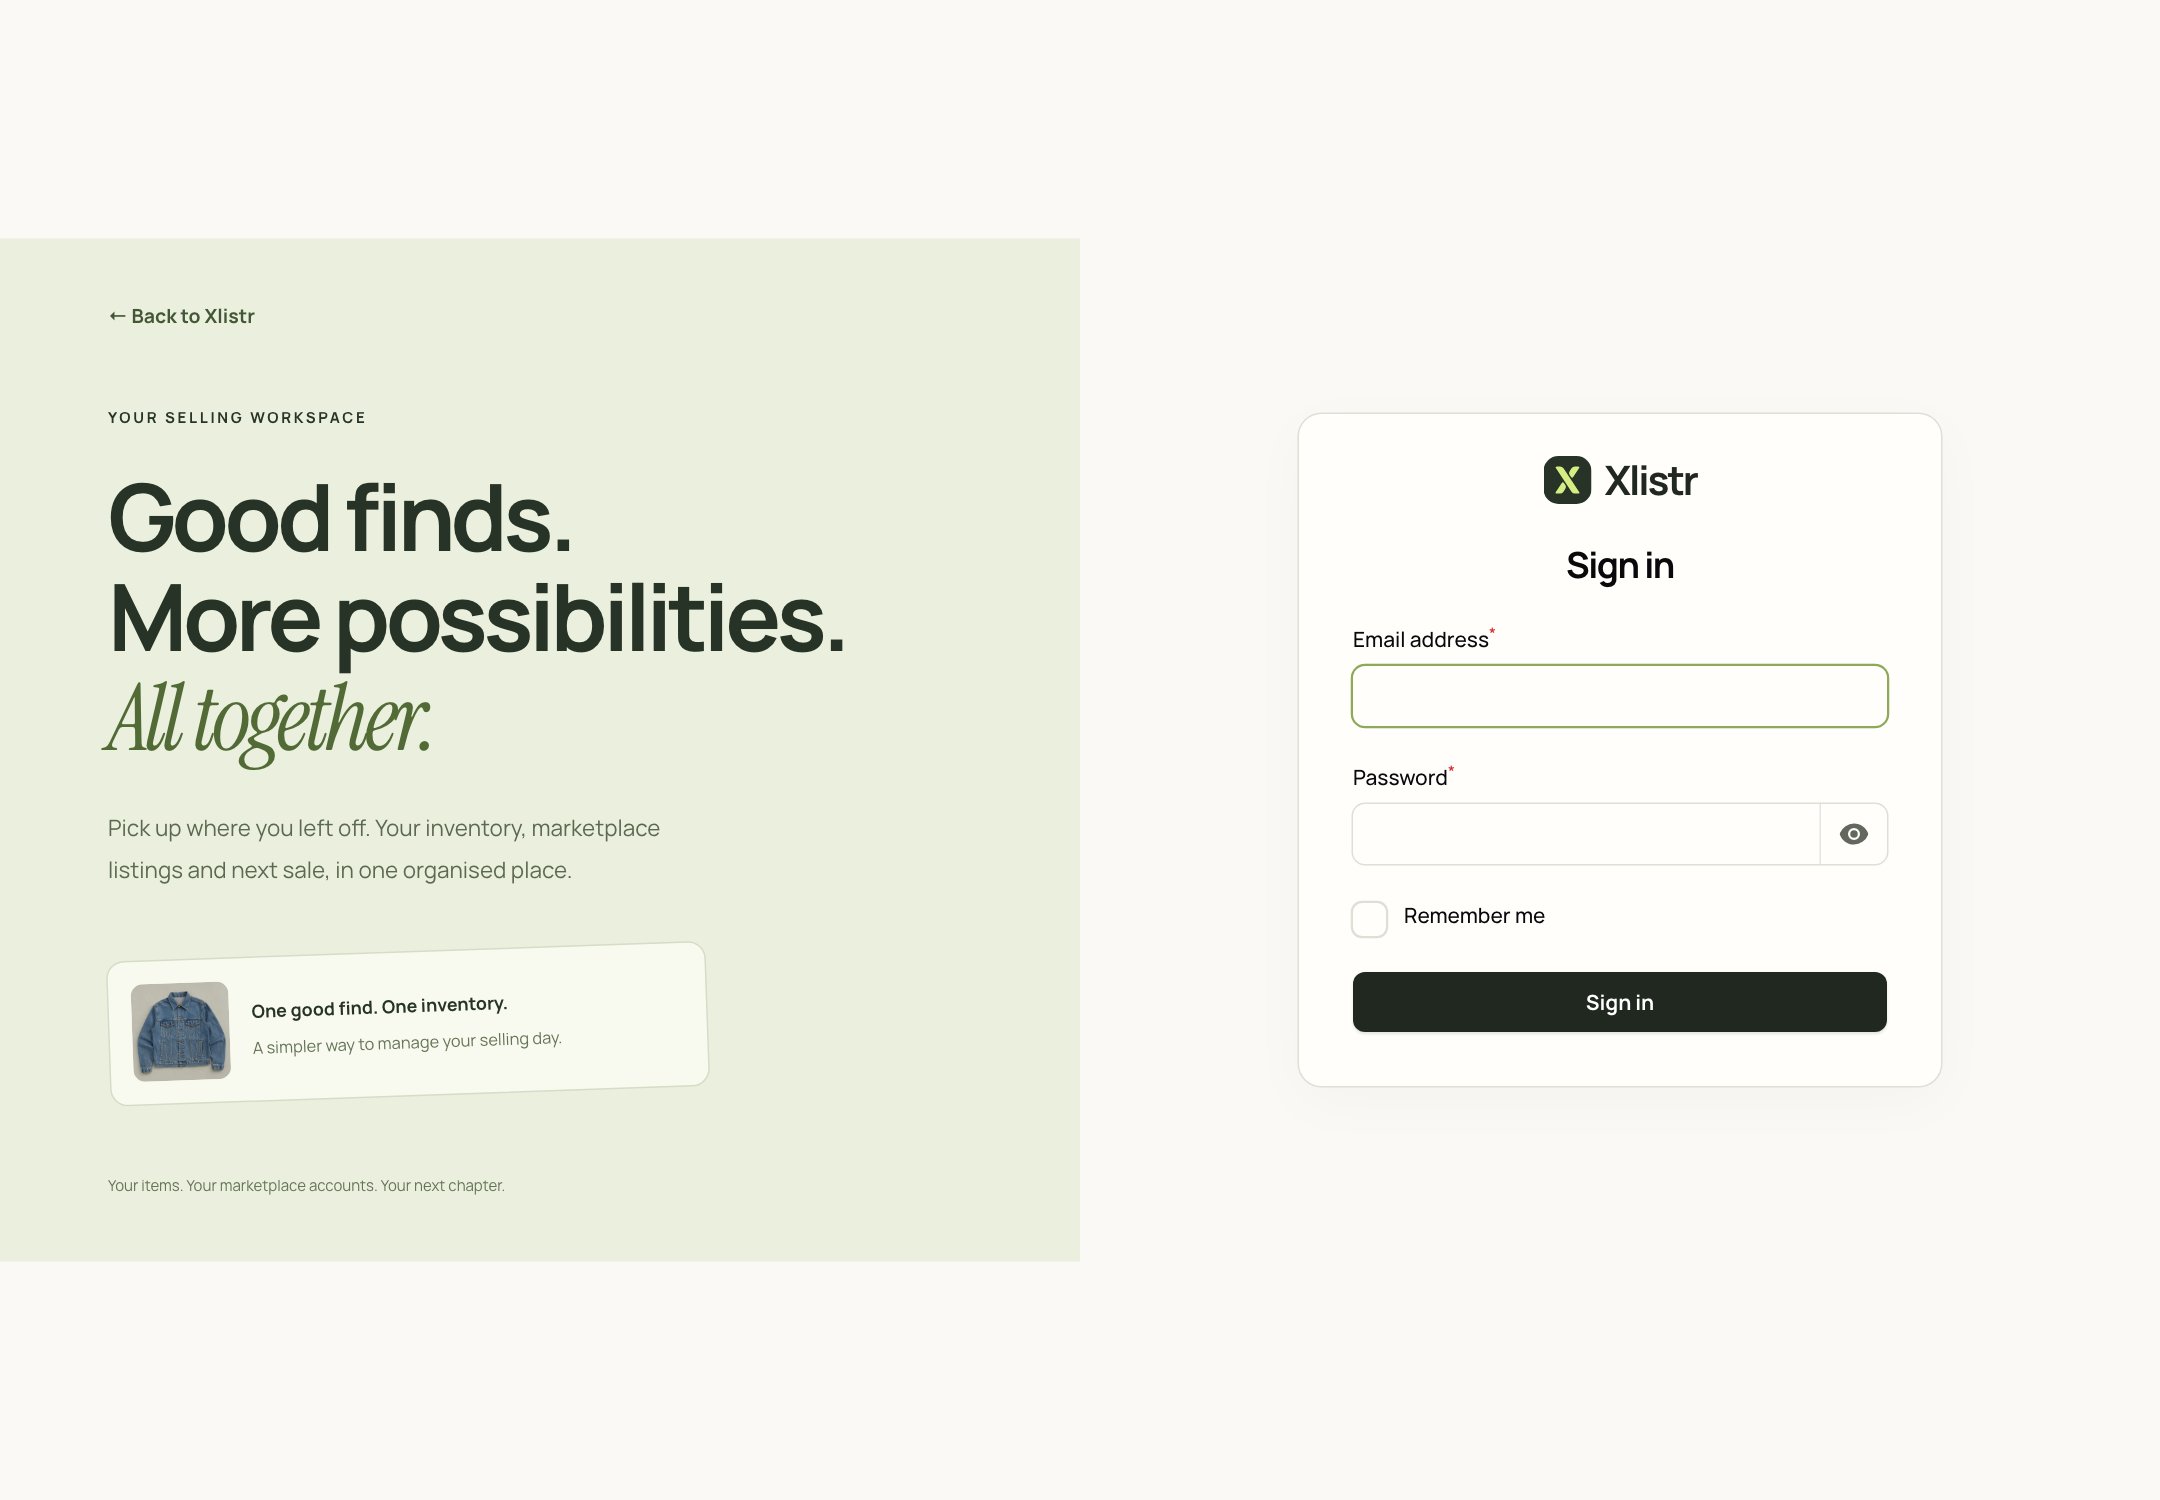
The Xlistr sign-in page.
Step 1: Sign in
- Go to app.xlistr.com/admin.
- Enter the email address and password for your Xlistr account.
- Click Sign in.
- If your workspace uses Google sign-in, click Continue with Google instead.
Step 2: Look around Settings
Open Settings in the left-hand menu. You do not need to change everything today. These are the tabs that matter at the start: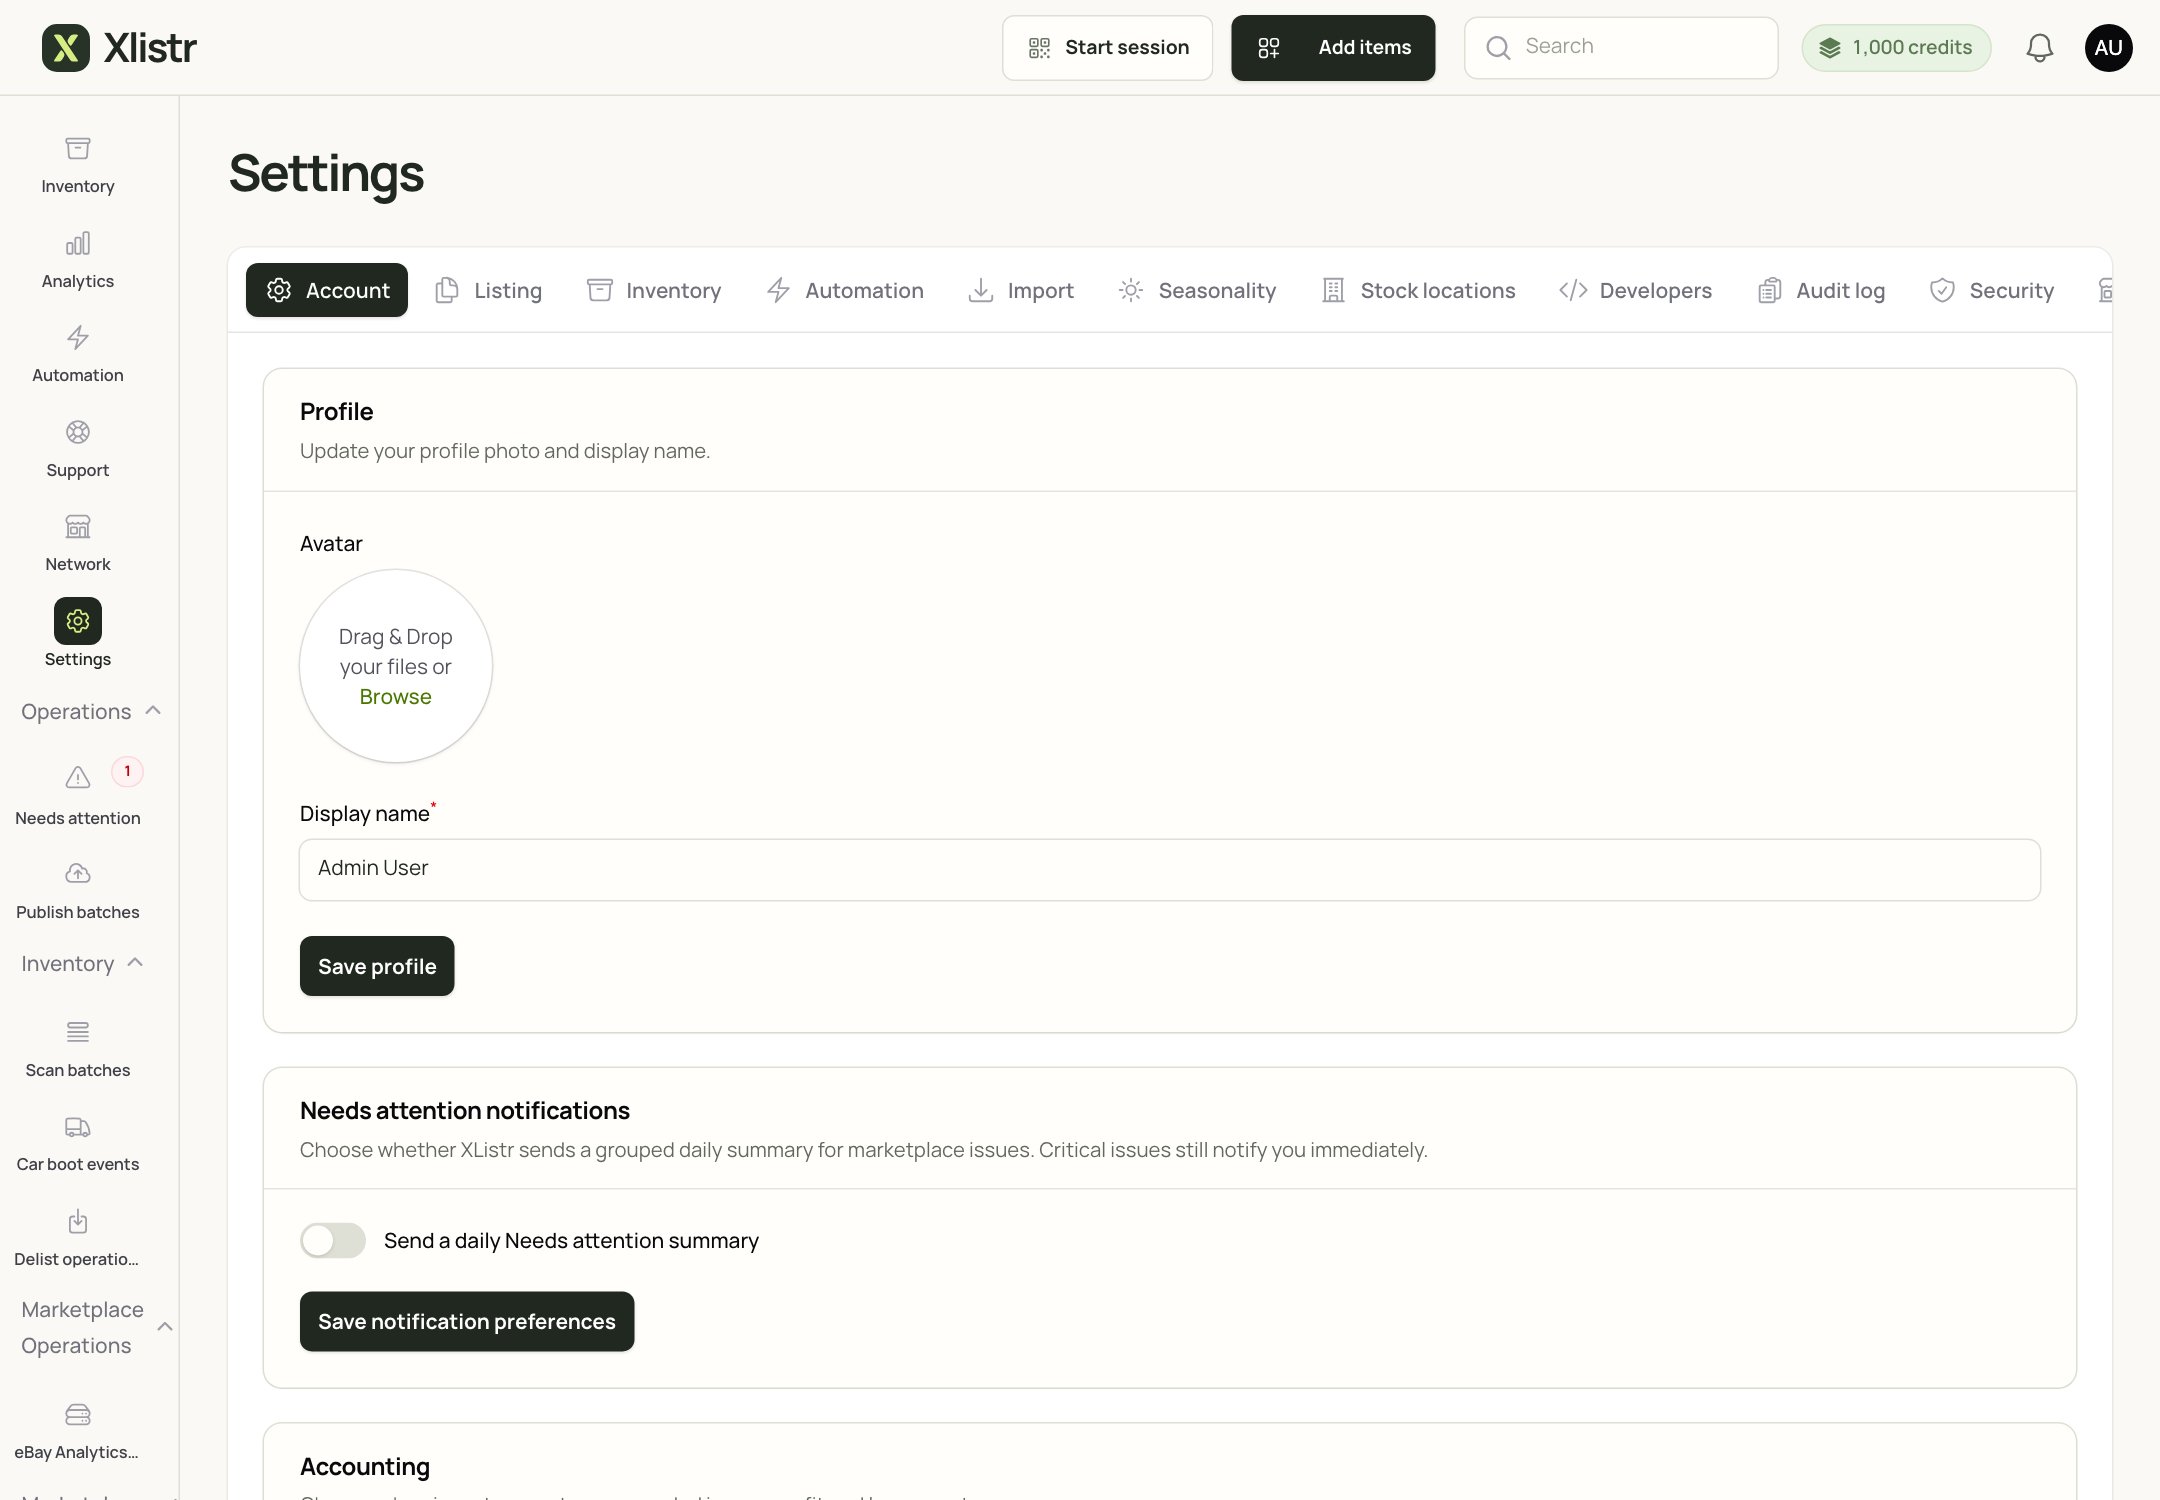
The Settings screen. The tabs across the top hold account, listing, inventory, automation, import, security and developer settings.
Do not turn on automation you do not understand yet. It is much easier to learn how Xlistr behaves when you are pressing the buttons yourself.
Step 3: Set your notification preference
Xlistr can send a grouped daily summary of marketplace issues. Critical issues still notify you immediately.- Open Settings > Account.
- Find Needs attention notifications.
- Turn Send a daily Needs attention summary on or off.
- Click Save notification preferences.
Step 4: Connect one marketplace
You only need one connection to publish your first item.- Open Automation.
- Find Shop integrations.
- Click Connect next to the shop you already use.
- Follow the sign-in or extension instructions.
- Confirm that the status says Connected.
Step 5: Add two or three sample items
Do not import your whole catalogue yet. Add two or three items you know well, then check:- the photos look right;
- the title and description are accurate;
- the price and cost of goods are correct;
- the quantity matches what you own;
- the item appears in Inventory;
- the marketplace listing shows the status you expect.
Step 6: Decide how you will use Xlistr
There is no single right way to work, but most resellers fall into one of these habits:- One at a time: add an item, list it, then move on. Best for high-value or one-off pieces.
- Photo batch: photograph a pile, use Auto-group photos, then review the drafts together.
- Import first: bring in existing marketplace listings, then tidy them in Xlistr.
What to do next
Connect your marketplaces
Add eBay, Vinted, Depop or another shop and check the connection status.
Publish your first item
Follow the picture-led walkthrough from photos to a live listing.
Understand inventory
Learn the difference between an item, a listing and a sale.
Secure your account
Add two-factor authentication and give teammates their own access.