

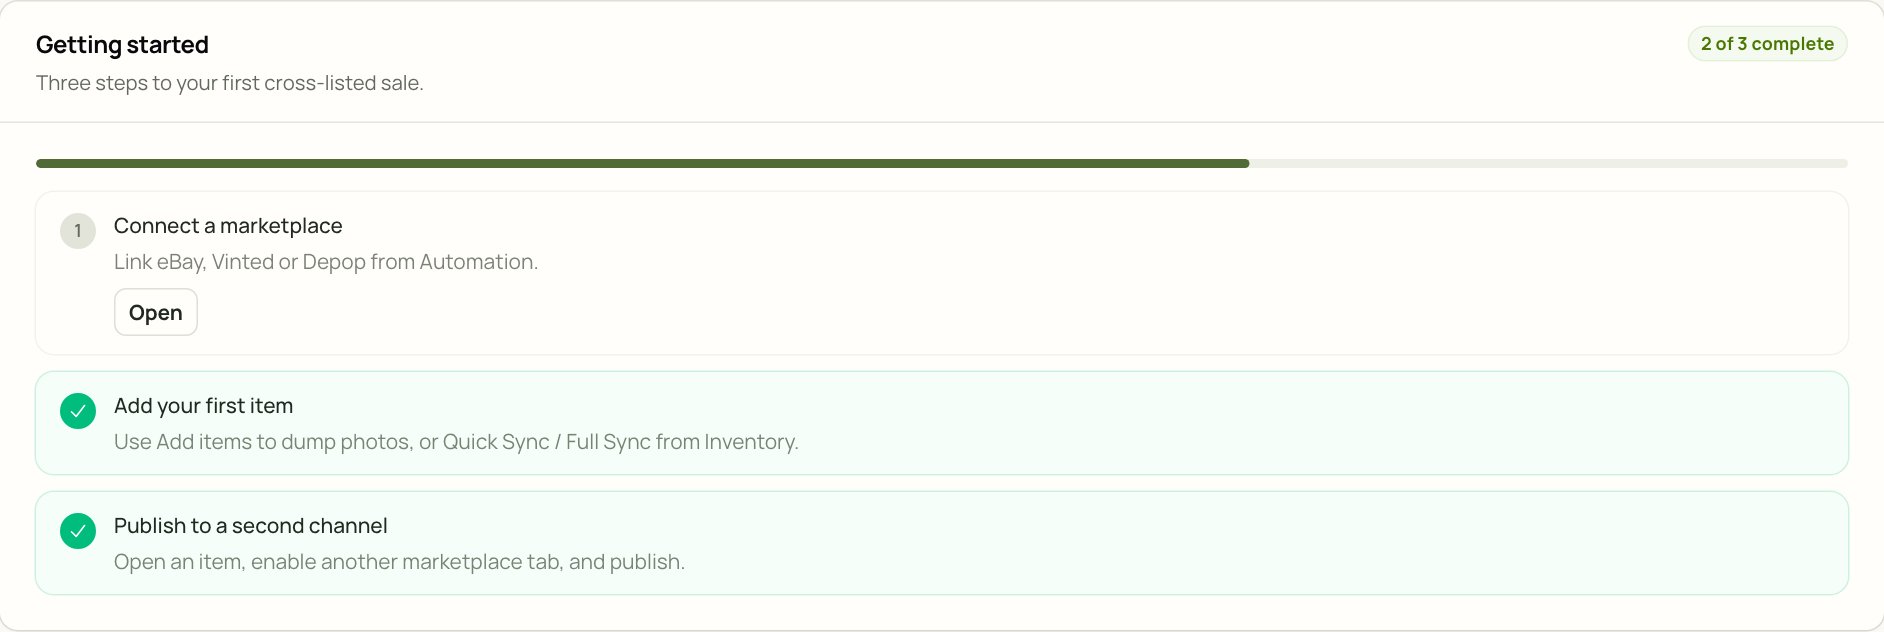
The Xlistr getting-started checklist. Your workspace may show different steps depending on what you have already done.
New here? Start with your first listing
You do not need to learn the whole app first. One item is enough to see how everything fits together.1. Set up your workspace
Sign in, look around Settings, and add a small sample. This takes a few minutes.
2. Connect one marketplace
Connect the selling account you already use. You can add more later.
3. Publish your first item
Follow the friendly walkthrough from photos to a live listing.
The three things Xlistr keeps together
- The inventory item. This is the real thing you own: the jacket, the boots, the camera. It holds the photos, the cost, the quantity and your private notes.
- The listings. A listing is the advert on eBay, Vinted, Depop or another selling site. Each listing points back to the same inventory item.
- The stock and sales. When something sells, Xlistr updates the inventory quantity and can take the other listings down so you do not sell the same item twice.
In plain English: the inventory item is the boss. The listings are just different shop windows for it. If you change the quantity on the inventory item, the listings should follow.
Find what you need
Inventory and listings
Understand inventory, drafts, variants, shared quantity and the buttons on an item.
Marketplaces
See how eBay, Vinted, Depop, Bidzzy, Shopify and WooCommerce connect.
Fix a problem
Work through connection errors, missing fields, stuck actions and duplicate worries.
Words explained
A plain-English glossary for every term we use, from SKU to shared quantity.
A note about these guides
- The screenshots use sample data. Your own item names, prices and connection statuses will look different.
- Xlistr changes over time. If a button has moved, look for the same words in Inventory, Automation or Settings.
- A message that an action was queued does not mean the marketplace has finished it. Check the status in Xlistr and, for important listings, check the selling site too.